Follow Me On Social Media!

Red Velvet Thumbprint Cookies: Irresistibly Creamy Delight
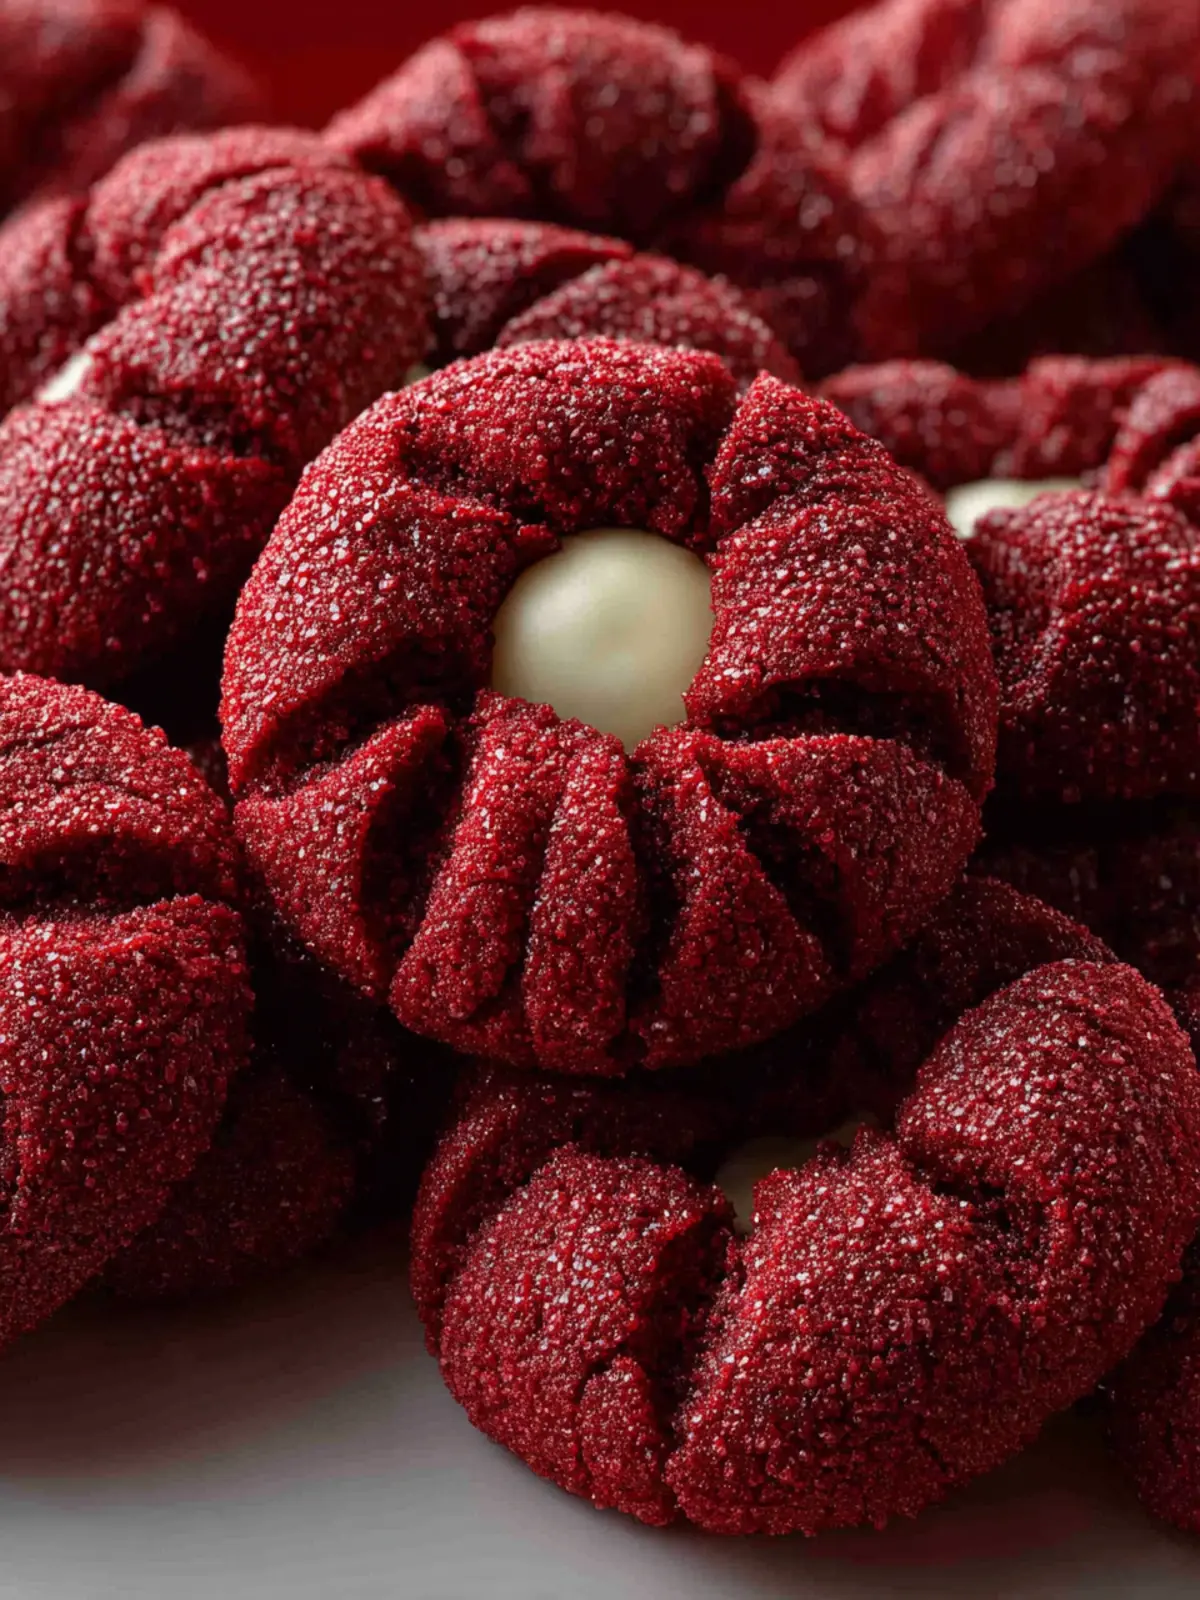
Introduction to Red Velvet Thumbprint Cookies
Imagine sinking your teeth into a soft and luscious cookie that merges the classic flavors of red velvet cake with a delightful touch of whimsy—red velvet thumbprint cookies are exactly that. These cookies not only boast a stunning crimson hue that can liven up any dessert table but also offer a unique flavor profile that will have you reaching for seconds (and thirds!). The sweet, buttery base complements the rich chocolate undertones, while a dollop of your favorite jam or cream cheese frosting in the center adds an irresistible richness. It’s a fun and elegant treat that can elevate any occasion, from casual afternoon get-togethers to festive holiday parties.
The delight of indulging in a cookie goes beyond just satisfying your sweet tooth; it’s about sharing moments with friends and family, creating memories, and indulging in life’s simple pleasures. Picture a chilly evening where you’re cozied up on the couch, a warm cup of tea in one hand and a plate of freshly baked red velvet thumbprint cookies in the other. Each bite is a burst of flavor that also brings a touch of nostalgia, as you might remember baking fun treats with your loved ones during the holidays or after school.
For those of you who enjoy a bit of creativity in the kitchen, these cookies offer the perfect opportunity to experiment. Whether you prefer raspberry jam, chocolate ganache, or even a citrus-infused frosting, you’re destined to find a flavor combination that feels just right. And if you’re new to baking, don’t worry! The process of making red velvet thumbprint cookies is quite straightforward, allowing both novice and seasoned bakers to create something special.
So, are you ready to take on this delicious endeavor? Let’s dive into the ingredients and steps to whip up your very own batch of red velvet thumbprint cookies!
Key Ingredients for Red Velvet Thumbprint Cookies
Red velvet thumbprint cookies are not only visually stunning but also an absolute treat for the taste buds. Each ingredient plays a vital role in crafting these delightful cookies that often become the highlight of any gathering.
-
Butter: The foundation of our cookie, I use unsalted butter, softened to room temperature, ensuring a rich, creamy texture. This creates that melt-in-your-mouth experience we all crave.
-
Granulated Sugar and Brown Sugar: A combination of sugars helps achieve the perfect sweetness and chewiness. Brown sugar contributes to the cookies’ moisture, while granulated sugar aids in spreading.
-
Egg: A single large egg is essential for binding the ingredients together while giving the cookies a nice rise.
-
Red Velvet Cake Mix: This is the star of the show, defining the color and flavor. It’s an easy shortcut that keeps the cookies moist and fluffy.
-
Chocolate Chips: Melty chocolate chips nestled in the center of each thumbprint add a decadent finish, balancing the sweetness of the cookie.
When you combine these ingredients thoughtfully, you’ll create a batch of red velvet thumbprint cookies that are sure to impress at any occasion!
Why You’ll Love These Red Velvet Thumbprint Cookies
When you take a bite of red velvet thumbprint cookies, you’re not just enjoying dessert—you’re experiencing a lovely blend of flavors that evoke a sense of celebration and nostalgia. Imagine the inviting aroma wafting through your kitchen as these cookies bake, promising a sweet surprise that’s perfect for any occasion.
They’re Uniquely Beautiful
The vibrant red of these cookies makes them a standout treat on any dessert table. Their eye-catching appearance not only tantalizes your taste buds but also sparks joy in anyone lucky enough to indulge. Just imagine sharing these delightful cookies with friends, and watch as they marvel at your baking skills!
Perfect Texture
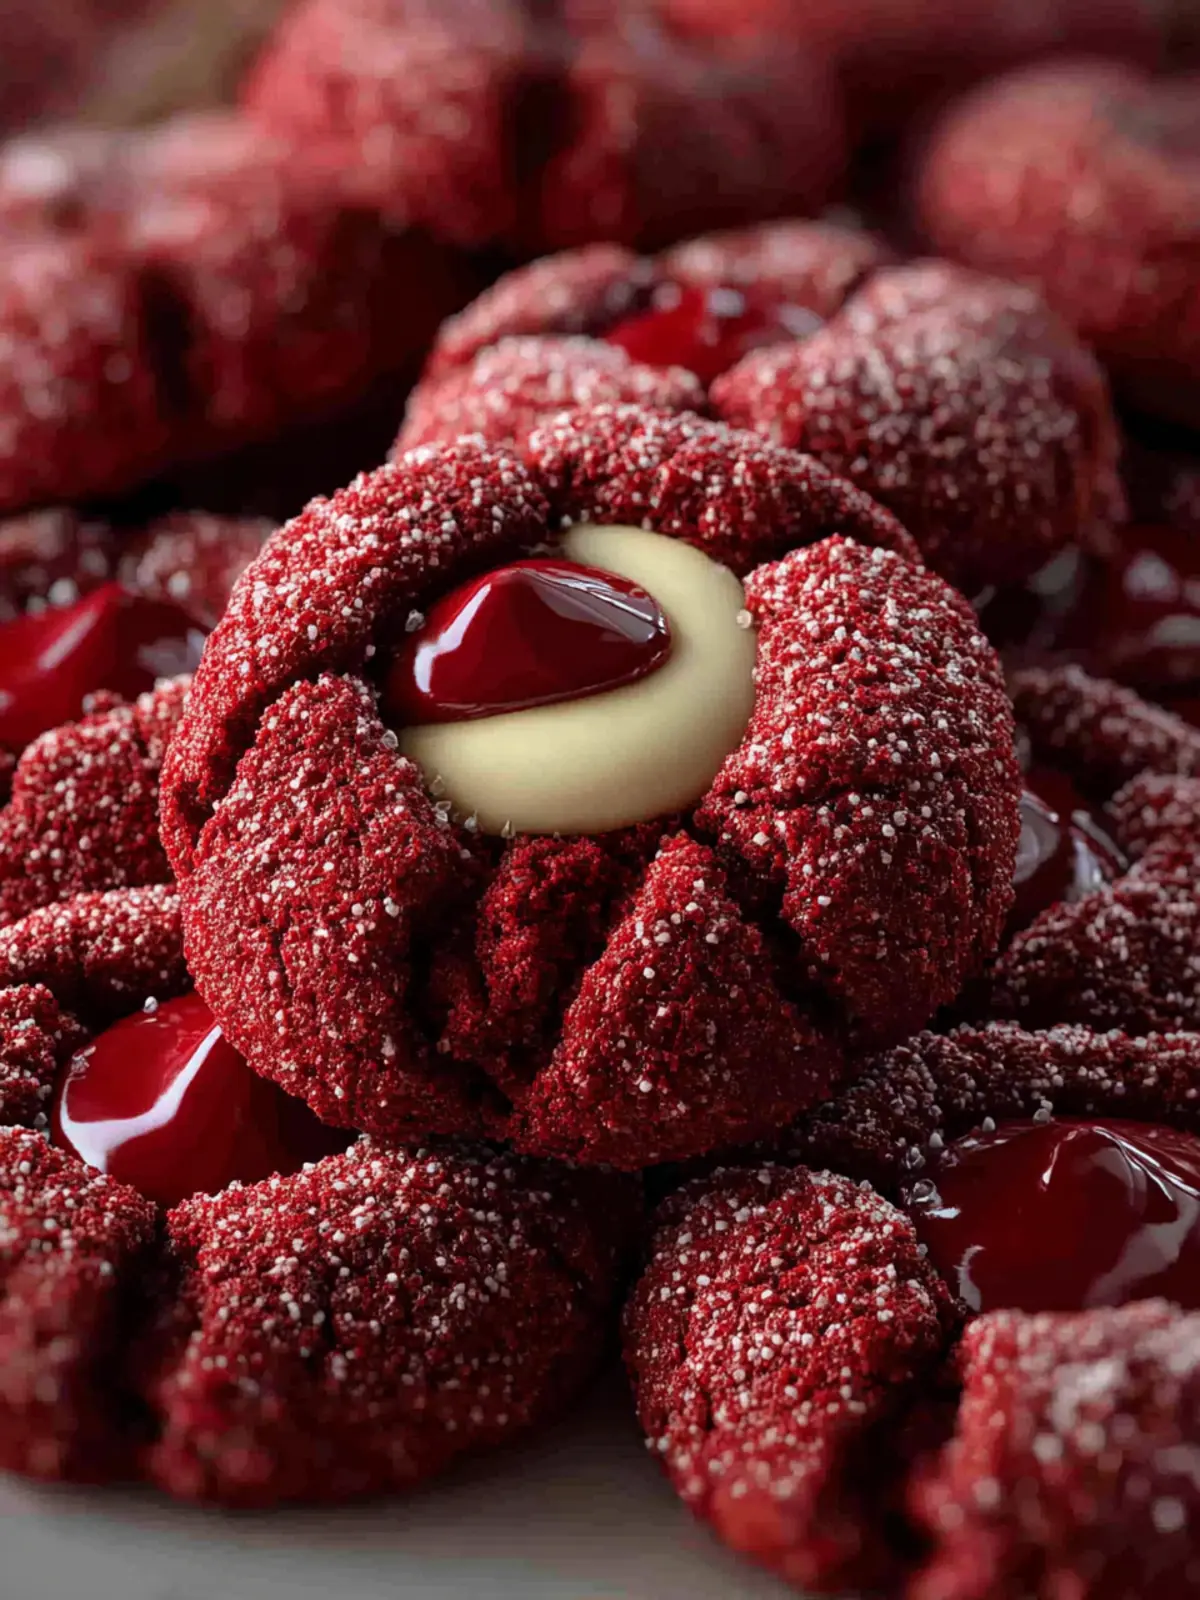
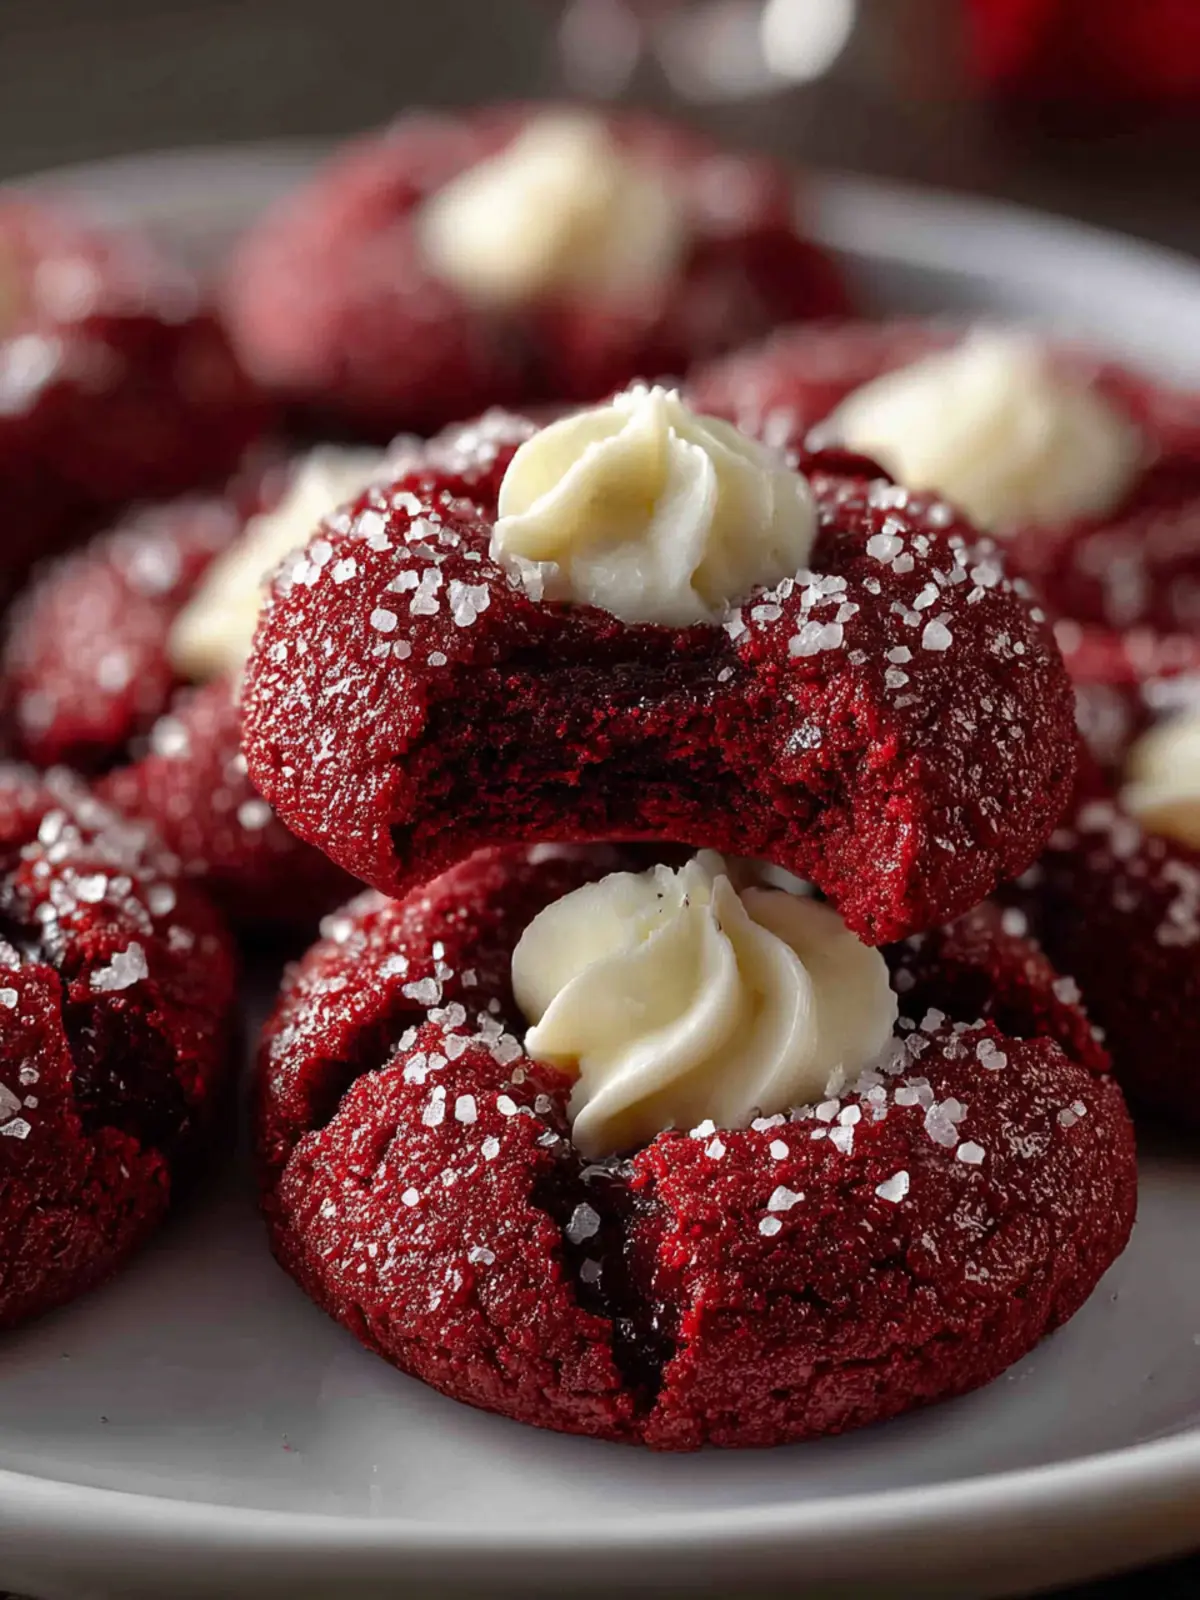
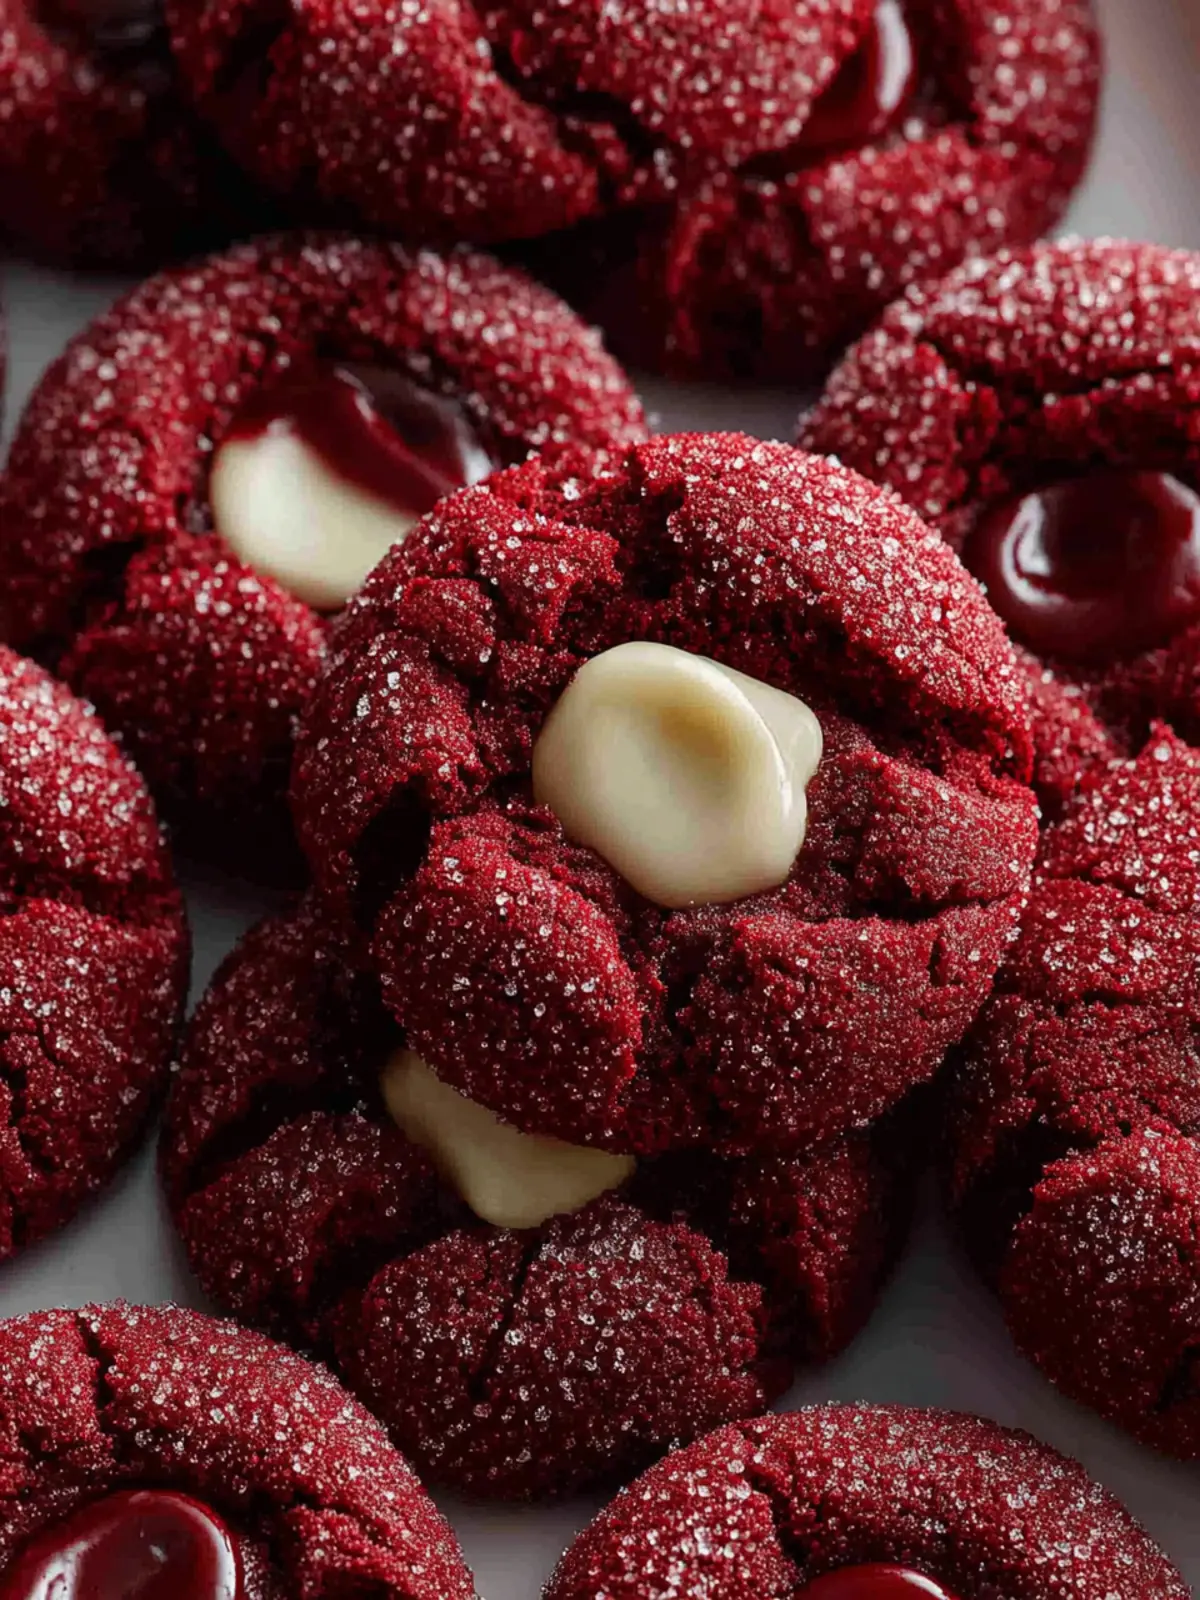
What sets these cookies apart is their inviting, soft texture that melts in your mouth. The thumbprint creates a perfect vessel for your favorite filling—be it jam, chocolate, or cream cheese frosting—making every bite rich and satisfying. Each cookie is essentially a cute little surprise waiting to be discovered, keeping you and your guests coming back for more.
A Fun Baking Experience
Baking red velvet thumbprint cookies is a great way to engage with friends or family in the kitchen. The easy recipe and playful thumbprint technique make it a fantastic activity for all skill levels. You’ll enjoy the fun of getting your hands a little messy while creating something beautiful together!
Suitable for Any Occasion
Not just for Valentine’s Day or special events, these cookies are perfect for every day of the week. Whether you’re enjoying a quiet night at home or hosting a gathering, they will undoubtedly elevate the moment. So go ahead, bake a batch, and let the love unfold!
Cooking Tips for Perfect Red Velvet Thumbprint Cookies
Creating red velvet thumbprint cookies that are both delightful and aesthetically pleasing can feel like an art form. To ensure your cookies turn out perfectly every time, here are some essential cooking tips you’ll want to keep in mind.
Choose Quality Ingredients
Use high-quality cocoa powder to enhance that signature red velvet flavor. Look for Dutch-processed cocoa, which has a smoother taste. Also, opt for fresh butter. Room temperature butter allows for better creaming with sugar, resulting in a lighter cookie.
Achieve the Right Dough Consistency
When mixing your dough, be mindful not to overmix after adding the flour. Overmixing can lead to tough cookies instead of the soft, tender texture you desire. Mixing until just combined keeps them light and airy.
Monitor Baking Time
Baking time is crucial! Keep an eye on your cookies as they bake; they should be softly set around the edges but still slightly underbaked in the centers. This will ensure they remain chewy and soft even after cooling.
Perfect the Thumbprint Technique
When making the thumbprint indents, use a gentle touch to avoid creating cracks. If you find your dough is too sticky, lightly flour your fingers or use a small spoon to create the indent.
Fill with Your Favorite Jam
Finally, choose a jam or filling that complements the red velvet thumbprint cookies. Classic cream cheese icing is fantastic, but don’t shy away from fruit preserves for a burst of color and flavor.
With these tips, your cookies aren’t just dessert; they’re a delicious masterpiece waiting to be shared!
Serving Suggestions for Red Velvet Thumbprint Cookies
Exploring delightful red velvet thumbprint cookies can lead you to countless serving opportunities that elevate this indulgent treat. Picture this: you’ve just baked a batch, and now you’re ready to impress friends and family.
Pairing Ideas for Your Cookies
When it comes to serving your red velvet thumbprint cookies, the right accompaniments can make all the difference. Here are a few ideas to consider:
-
Beverages: Pair these cookies with a rich cup of coffee or a glass of chilled milk. The creamy texture of milk balances the cookie’s sweetness beautifully.
-
Dessert Platter: Add your cookies to a festive dessert platter alongside other sweets like brownies, cheesecake bites, or mini tartlets for a delightful variety that guests will love.
-
Ice Cream Sandwiches: For a fun twist, sandwich a scoop of vanilla or cream cheese ice cream between two cookies. It’s a perfect way to turn an already delicious cookie into a memorable treat.
-
Garnish: A sprinkle of crushed nuts or a drizzle of chocolate sauce over the top can elevate the presentation and flavor of your cookies, making them even more irresistible.
Embrace these serving suggestions, and you’ll find that your red velvet thumbprint cookies are more than just a treat — they become a centerpiece for gatherings, evoking delightful conversations and memories.
Time Breakdown for Red Velvet Thumbprint Cookies
Creating the perfect batch of red velvet thumbprint cookies is not just about the ingredients; it’s also about timing. Understanding how to schedule your baking can make all the difference in achieving that scrumptious bite.
Preparation time
Start with about 20 minutes to gather your ingredients and whip up the cookie dough. This is your time to infuse love into the mixing!
Chilling time
Once your dough is ready, let it chill in the fridge for 30 minutes. This step is crucial for ensuring perfectly shaped cookies.
Baking time
Pop the cookies in the oven for about 12-15 minutes. Keep an eye on them; you want that perfect golden edge!
Total time
In just over an hour, you’ll have enjoyed the entire process and will be ready to devour your delicious red velvet thumbprint cookies. Happy baking!
Nutritional Facts for Red Velvet Thumbprint Cookies
When indulging in the delightful world of red velvet thumbprint cookies, it’s good to know what you’re treating yourself to. Here’s a closer look at the nutritional profile of these charming little cookies that are perfect for sharing or enjoying solo.
Calories
Each red velvet thumbprint cookie contains approximately 120 calories. This makes them a sweet treat that’s not too heavy, allowing you to indulge without the guilt.
Carbohydrates
With about 18 grams of carbohydrates per cookie, these treats provide a quick source of energy. The balance of sugar and flour creates the perfect soft texture you crave in a cookie.
Fats
Each cookie has about 6 grams of fat, contributing to their rich, buttery flavor. This balance of fats ensures they stay moist and delicious, making every bite worth savoring.
Enjoy these red velvet thumbprint cookies responsibly, and let their delectable flavor enhance your day!
FAQs about Red Velvet Thumbprint Cookies
Making red velvet thumbprint cookies can be a delightful adventure in baking. They are not just visually stunning; they also bring a taste of rich cocoa blended with creamy fillings. To make your experience as enjoyable as possible, here are some common questions answered!
How can I store these cookies?
For optimal freshness, store your red velvet thumbprint cookies in an airtight container at room temperature. This keeps them soft and delightful for up to a week. If you want to keep them longer, consider refrigerating them. Just ensure they’re in a tightly sealed container to avoid drying out. When you’re ready to enjoy them, let them come to room temperature, or gently warm them in the microwave for a few seconds.
Can I make these cookies gluten-free?
Absolutely! Swapping out all-purpose flour for a gluten-free 1:1 baking blend works beautifully in this red velvet thumbprint cookies recipe. Just make sure to choose a blend that includes xantham gum, which helps mimic the texture of gluten. Your cookies will still turn out soft and chewy while accommodating those with gluten sensitivities.
What other fillings can I use in thumbprint cookies?
While cream cheese frosting is a classic filling, you can get creative! Here are some delicious alternatives for your red velvet thumbprint cookies:
- Fruit preserves: Raspberry, strawberry, or apricot can add a tangy contrast.
- Nut butter: Almond or peanut butter offers a rich, gooey texture.
- Chocolate ganache: For a decadent twist, use melted chocolate mixed with cream.
- Caramel sauce: This can lend a sweet, buttery flavor that complements the cookies perfectly.
These options allow you to customize your cookies to suit any occasion or palate!
Conclusion on Red Velvet Thumbprint Cookies
In the realm of baking treats, few delight the senses like red velvet thumbprint cookies. These tantalizing cookies are not just visually striking; they embody the perfect blend of soft, rich texture and a burst of sweetness from the filling. Baking these cookies can be a wonderful bonding experience, whether you’re hosting friends or enjoying a cozy evening at home. The icing on the cake—literally—is that they’re easy to make, ensuring anyone can create this masterpiece. So, gather your ingredients, unleash your creativity, and savor the joy of sharing your delectable red velvet thumbprint cookies with loved ones.
Print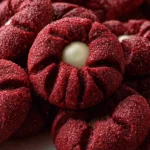
Red Velvet Cookies with Cream Cheese Filling
- Total Time: 1 hour
- Yield: 24 cookies 1x
- Diet: Vegetarian
Description
Deliciously soft Red Velvet Cookies filled with a creamy cheese frosting, perfect for any occasion.
Ingredients
Scale
- 2 1/4 cups all-purpose flour
- 1/4 cup unsweetened cocoa powder
- 1 tsp baking soda
- 1/2 tsp salt
- 1 cup unsalted butter (softened)
- 1 1/2 cups granulated sugar
- 2 large eggs (room temperature)
- 1 tsp vanilla extract
- 2 tbsp red food coloring
- 1/2 cup buttermilk
- 1/2 cup granulated sugar (for rolling)
- 8 oz cream cheese (softened)
- 1/2 cup unsalted butter (softened)
- 4 cups powdered sugar (sifted)
- 1 tsp vanilla extract
Instructions
- Whisk flour, cocoa powder, baking soda, and salt in a medium bowl. Set aside.
- Cream butter and granulated sugar until light and fluffy, about 2–3 minutes.
- Add eggs one at a time, mixing well. Stir in vanilla extract and red food coloring.
- Alternate adding dry ingredients and buttermilk, beginning and ending with dry ingredients. Mix just until combined.
- Cover dough and refrigerate for at least 30 minutes.
- Preheat oven to 375°F (190°C) and line baking sheets with parchment paper.
- Scoop dough into rounded tablespoons, roll into balls, then roll in granulated sugar.
- Place cookies 2 inches apart and gently press a thumbprint into the center of each.
- Bake for 8–10 minutes until edges are set but centers remain soft.
- Cool cookies completely on a wire rack.
- Beat cream cheese and butter until smooth. Gradually add powdered sugar, then vanilla, mixing until fluffy.
- Pipe or spoon cream cheese filling into cooled cookie centers.
Notes
- For best results, ensure that your butter and cream cheese are at room temperature before use.
- These cookies are best enjoyed fresh but can be stored in an airtight container for several days.
- Prep Time: 30 minutes
- Cook Time: 10 minutes
- Category: Dessert
- Method: Baking
- Cuisine: American
Nutrition
- Serving Size: 1 cookie
- Calories: 200
- Sugar: 15g
- Sodium: 150mg
- Fat: 10g
- Saturated Fat: 6g
- Unsaturated Fat: 4g
- Trans Fat: 0g
- Carbohydrates: 26g
- Fiber: 1g
- Protein: 2g
- Cholesterol: 30mg