Follow Me On Social Media!

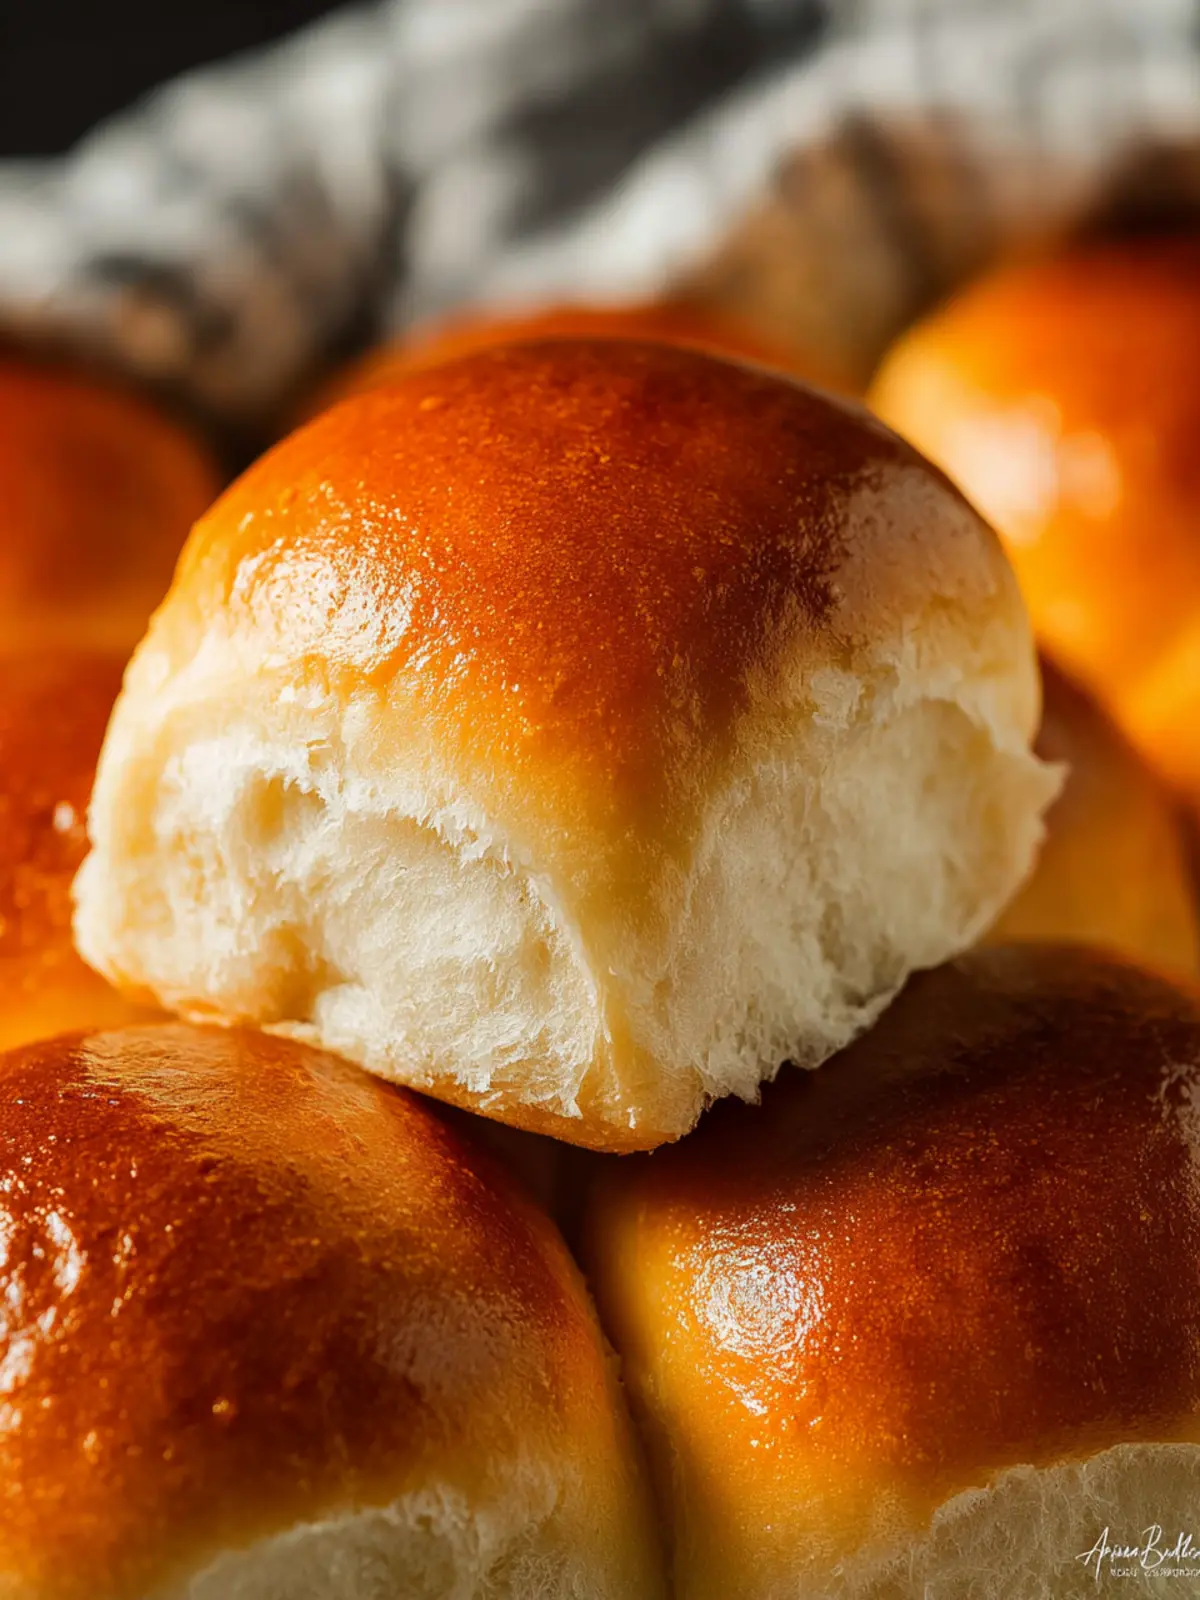
Classic Homemade Dinner Rolls Made Easy: Fluffy and Irresistible
Introduction to Classic Homemade Dinner Rolls
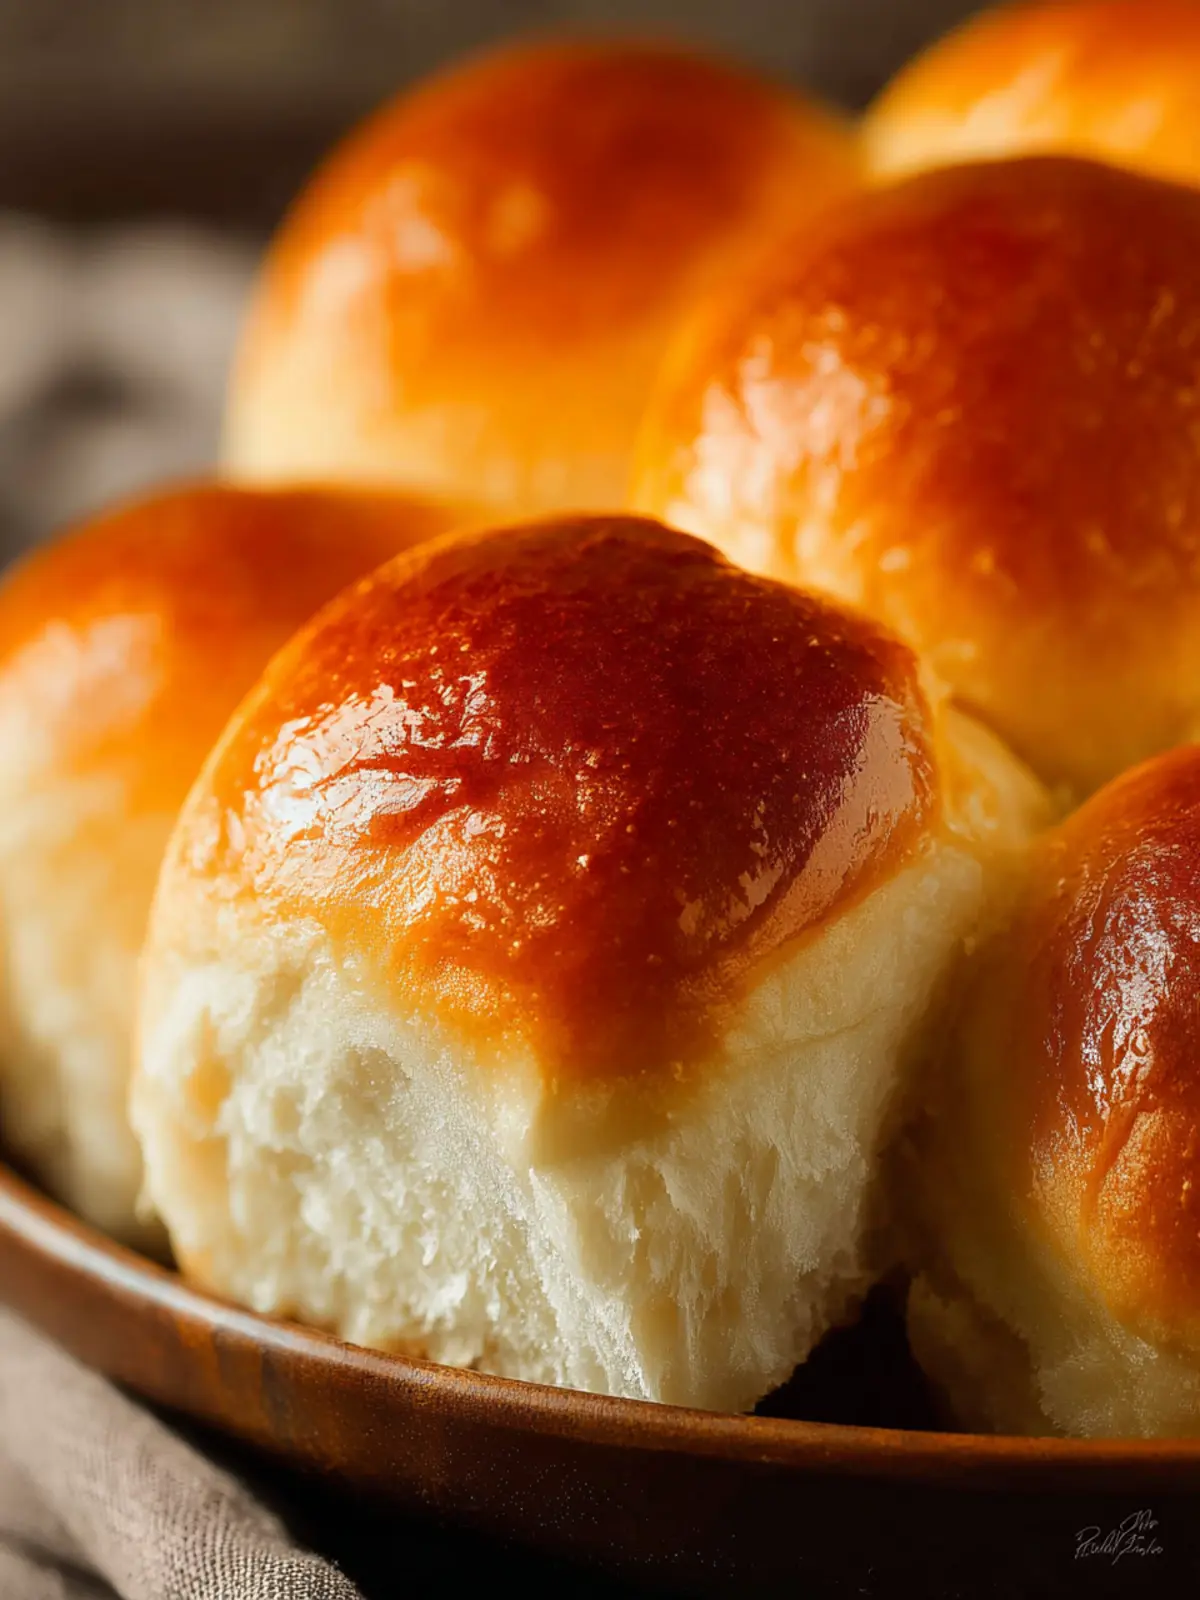
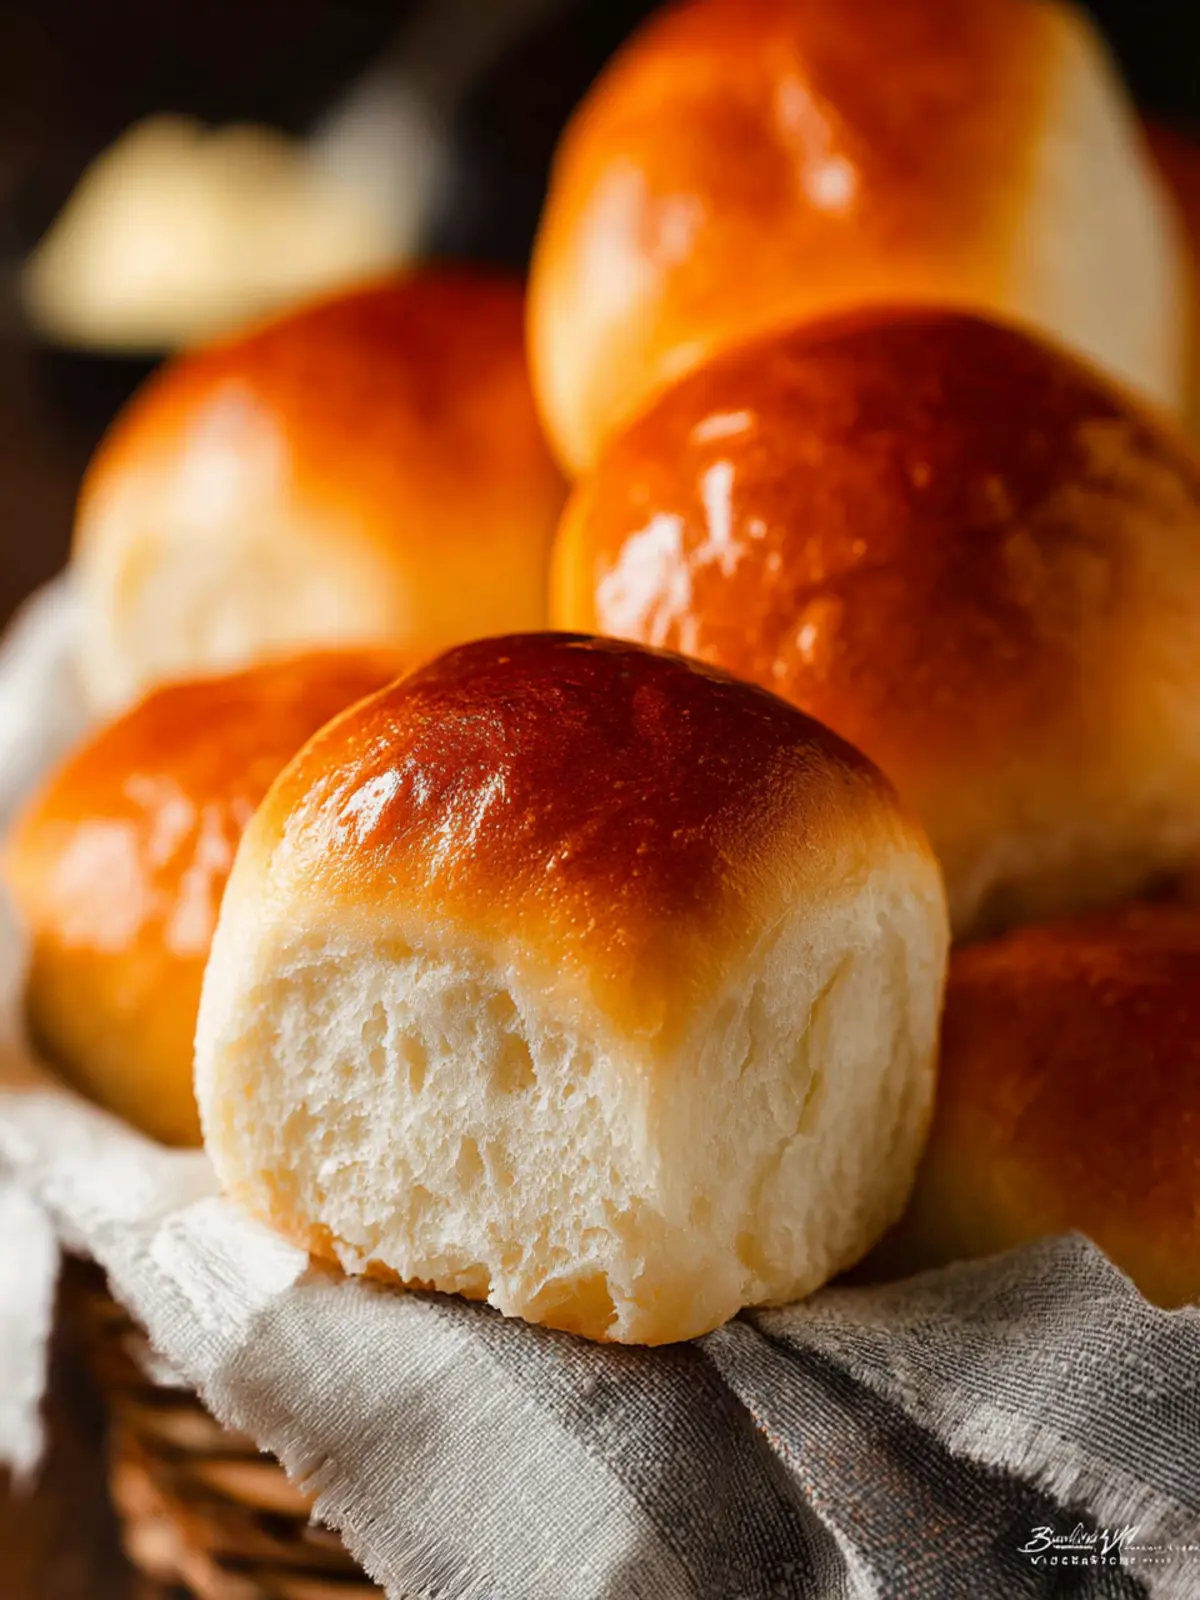
Imagine the warm aroma of freshly baked bread wafting through your kitchen, making your heart feel just a little lighter. That’s the experience you’ll get with classic homemade dinner rolls. Not only do they serve as a perfect accompaniment to any meal, but they also carry a sense of comfort and home that store-bought rolls simply can’t match. Picture this: your guests gather around the table, eyes lighting up as you unveil a basket of golden, fluffy rolls—each one a delightful morsel waiting to be slathered with butter or enjoyed on its own.
Homemade dinner rolls bring a special touch to family dinners, holiday feasts, or casual gatherings with friends. They’re surprisingly straightforward to make, even if you’re new to baking. With just a handful of common ingredients, you can create something that feels truly special. The key is the love and time invested into kneading the dough—there’s something so rewarding about it. Not only do these rolls taste incredible, but they also yield a certain nostalgia; perhaps they remind you of your grandmother’s kitchen or a cherished family recipe.
Beyond the nostalgic factor, homemade rolls can be customized to suit your taste—think about adding herbs, garlic, or even cheese to the dough for a unique twist. By making them yourself, you can control the ingredients, ensuring a fresher, healthier option for you and your loved ones.
Why are homemade dinner rolls a must-try? Here are a few reasons:
- Flavor: Freshly baked rolls boast a taste that’s simply unmatched by pre-packaged versions.
- Quality time: The process of making these rolls can be a fun experience to share with family or friends.
- Versatility: Serve them alongside soups, stews, or as a base for sliders—homemade rolls elevate any meal.
- Satisfaction: There’s a unique joy in serving something you’ve created from scratch.
With this introduction, you’ll be well on your way to baking classic homemade dinner rolls that will turn any meal into a celebration.
Key Ingredients for Classic Homemade Dinner Rolls
Milk: Using whole milk in your dinner rolls adds a depth of flavor and richness that makes a noticeable difference. The fat content helps keep the rolls moist and tender, so they practically melt in your mouth!
Unsalted Butter: This ingredient is crucial for achieving that soft, flavorful dough. By using unsalted butter, you can control the salt content in your rolls, ensuring a perfectly balanced taste. I love to incorporate it throughout the process for a rich, buttery flavor.
Granulated Sugar: A small amount of granulated sugar balances the flavors and helps the rolls rise beautifully. It’s an essential ingredient that encourages the yeast to do its job, giving your rolls that lovely golden color.
Salt: Don’t underestimate the power of salt! It enhances all the flavors and works in harmony with the yeast to create a delightful rise. Just a pinch makes a big impact on the overall taste.
Active Dry Yeast: The star of the show! Active dry yeast is what makes your dough rise, resulting in fluffy dinner rolls. Be sure to check the expiration date to ensure the best results.
Lukewarm Water: This helps activate the yeast. Using water that’s lukewarm (about 110°F) creates the ideal environment for your yeast to thrive, resulting in beautiful, airy rolls.
All-Purpose Flour: Stick with all-purpose flour for the best texture. It provides just the right amount of structure while keeping the rolls soft and fluffy.
Eggs: Adding eggs enriches the dough, resulting in a softer and richer roll with a lovely golden hue. Beating the eggs into the mixture helps with the overall integrity of the dough.
Melted Salted Butter: A brush of melted salted butter on the rolls after baking gives that mouthwatering finish. It adds a glossy sheen and an irresistible buttery flavor as they come out of the oven.
With these ingredients, you’ll be a step closer to creating classic homemade dinner rolls that will impress friends and family alike!
Why You’ll Love These Dinner Rolls
There’s something magical about pulling classic homemade dinner rolls out of the oven, warmly embracing your kitchen with their delightful aroma. These rolls have a way of transporting you back to cherished family dinners and cozy gatherings, creating a sense of nostalgia that’s hard to replicate.
-
Perfect for Any Occasion: Whether it’s a festive holiday meal or a casual weeknight dinner, these rolls elevate any table. Their soft, pillowy texture and golden crust invite everyone to dig in, making them an instant crowd-pleaser.
-
Easy to Make and Customize: Made with simple ingredients like flour, yeast, and butter, you don’t need to be a baking expert to get them just right. Plus, feel free to get creative! Add herbs, cheese, or even a hint of garlic to tailor them to your taste.
-
Ideal for Leftovers: If you find any rolls lingering after dinner, don’t worry—they make for the perfect breakfast or snack. Toasted with a pat of butter, they are a delightful treat that keeps giving.
-
Gather Around: There’s nothing like breaking bread together, and these rolls create the perfect opportunity for connection, laughter, and sharing stories.
In a world that often feels rushed, these classic homemade dinner rolls offer a comforting experience that you’ll cherish in every bite.

Cooking Tips and Notes for Classic Dinner Rolls
Crafting the perfect classic homemade dinner rolls can feel like a rite of passage in the kitchen. Whether it’s a family dinner or a casual gathering, pulling fresh rolls from the oven can bring everyone together in an instant. Use these tips to elevate your roll-making game:
Kneading Technique:
Kneading the dough properly is key. Aim for a smooth, elastic texture; it should bounce back when poked. Don’t be afraid to get your hands in there! This not only mixes the ingredients but also creates a delightful connection with your food.
Proofing the Dough:
Dough needs a warm, draft-free environment to rise properly. If your kitchen is a bit chilly, try turning on the oven for a couple of minutes, then turning it off. Place the bowl inside for perfect proofing conditions.
Don’t Rush the Baking:
Keep an eye on your rolls while they bake. Golden brown tops typically indicate they’re done, but the magic happens internally too! Use a thermometer; the internal temperature should reach about 190°F for the perfect pull-apart texture.
Storage Tips:
Store any leftovers in an airtight container or wrap them in aluminum foil. They can also be frozen for up to three months. Just reheat them in the oven when you’re ready to enjoy again!
By following these tips, your classic homemade dinner rolls will impress and delight, making every meal a little more special.
Serving Suggestions for Classic Homemade Dinner Rolls
There’s something heartwarming about pulling a batch of classic homemade dinner rolls out of the oven, the aroma wafting through your home like a warm embrace. These rolls aren’t just a side; they are the centerpiece of any meal! Here are some serving ideas that can elevate your dinner experience.
With Family Dinners
Serve your rolls with hearty soups or stews. Their fluffy texture soaks up flavors beautifully, making each bite a delicious combination of ingredients. Pair them with a creamy tomato bisque or a savory beef stew for a comforting meal.
At Special Occasions
For festive gatherings, consider brushing the rolls with garlic butter and sprinkling fresh herbs on top. This not only adds flavor but transforms them into an elegant side that impresses guests at holiday dinners.
Sliders Anyone?
These rolls can be transformed into delightful sliders. Fill them with roasted meats, cheeses, or even vegetarian options like grilled veggies or falafel. Your guests will adore the casual yet gourmet touch!
Perfect for Breakfast
Don’t forget about breakfast! Toast them lightly and spread with homemade jam or soft butter for an effortless morning treat.
Convenient Freezing
If you find yourself with leftovers, freeze them! Thaw, warm, and serve them the next time you need an easy side.
Let your classic homemade dinner rolls shine in every meal; they truly do bring folks together!
Time Breakdown for Homemade Dinner Rolls
Making classic homemade dinner rolls isn’t just about the recipe—it’s a delightful process that fits perfectly into your kitchen routine. Here’s a look at how your time will be spent creating these fluffy delights.
Preparation Time
Start with about 15 to 20 minutes to gather your ingredients and knead the dough. Don’t rush this part—taking your time ensures the dough is well-mixed and ready for its rise.
Rising Time
You’ll want to let your dough rise for about 1 to 1.5 hours. This step is where the magic happens, as the yeast works to make your rolls airy and light.
Baking Time
Once shaped, these rolls bake for about 15 to 20 minutes in a preheated oven, transforming into golden rolls that will fill your home with a mouthwatering aroma.
Total Time
In total, expect to spend around 1.5 to 2.5 hours from start to finish. Once you taste that first warm roll slathered in butter, you’ll realize it was all worth the wait!
Nutritional Facts for Classic Homemade Dinner Rolls
Understanding the nutritional facts of your classic homemade dinner rolls can make enjoying them guilt-free even easier. Let’s break down the key components:
Calories
Each roll contains approximately 150 calories. This makes them a delightful addition to meals without overwhelming your calorie budget.
Carbohydrates
With about 25 grams of carbohydrates per roll, these fluffy treats provide a good source of energy. Perfect for those long workdays or a weekend family gathering!
Protein
Each roll offers around 4 grams of protein. While they may not replace a full meal, they still contribute a satisfying boost to your daily intake.
Fats
These dinner rolls contain about 4 grams of fat each, thanks to the butter. It helps achieve that soft, melt-in-your-mouth texture that makes them irresistible.
Enjoying classic homemade dinner rolls adds warmth and comfort to any dining experience, all while being mindful of your nutritional needs.
FAQs about Classic Homemade Dinner Rolls
Making classic homemade dinner rolls is an enriching experience, but like any delightful recipe, it raises a few questions. Let’s tackle some of the most frequently asked questions to help you enjoy your baking journey!
Can I freeze homemade dinner rolls?
Yes, you can absolutely freeze your classic homemade dinner rolls. In fact, freezing them is a fantastic way to keep them fresh longer. Just allow the rolls to cool completely after baking. You then can place them in an airtight freezer bag or container, ensuring to remove as much air as possible. When you want to enjoy them again, simply thaw them at room temperature and warm them in the oven for a few minutes to regain their soft texture.
What can I do with leftover rolls?
Leftover rolls don’t have to go to waste! Here are some creative ideas:
- Make Bread Crumbs: Simply pulse the leftover rolls in a food processor.
- Rolls for Sandwiches: Slice them and fill with your favorite meats, cheeses, and veggies.
- Bread Pudding: Transform them into a delicious dessert with a custard base.
With a little creativity, you can turn leftover classic homemade dinner rolls into something new and delightful.
How long do dinner rolls last?
Properly stored, classic homemade dinner rolls can last about 2-3 days at room temperature. For extended freshness, refrigerate them; they can last around a week. If frozen, they’ll last for about 3 months. Just remember to keep them in an airtight container for best results!
Explore these tips to make the most of your delicious rolls and turn any leftover into a culinary delight!
Conclusion on Classic Homemade Dinner Rolls
Creating classic homemade dinner rolls is more than just a cooking task; it’s an experience, one that fills your kitchen with warmth and aroma. The satisfaction of watching your rolls rise and transform into soft, golden morsels is unparalleled. Whether you serve them alongside family dinners, special occasions, or simply enjoy them as a snack, these rolls will surely impress.
Remember that the secret lies in using high-quality ingredients and allowing the dough to rise properly. Embrace the process and don’t rush—good things take time. So grab your apron, and start baking these delightful rolls. Your taste buds will thank you!
Print
Homemade Dinner Rolls
- Total Time: 2 hours 15 minutes
- Yield: 15 rolls 1x
- Diet: Vegetarian
Description
Delicious homemade dinner rolls that are soft, fluffy, and perfect for any meal!
Ingredients
Scale
- ¾ cup milk (microwaved about 45 seconds until hot chocolate temperature)
- ½ cup softened unsalted butter (or shortening)
- ¼ cup granulated sugar
- 1 tsp salt
- 2 packages active dry yeast (about 5 tsp or 1 Tbsp + 2 tsp)
- ½ cup lukewarm water (110–115°F)
- 4¼ to 4¾ cups sifted all-purpose flour
- 2 large eggs
- 2 Tbsp melted salted butter (for brushing tops)
Instructions
- In a small bowl, combine 2 packages active dry yeast with ½ cup lukewarm water (110–115°F). Stir gently and let sit for 5–10 minutes until the mixture becomes foamy.
- In a large mixing bowl, combine ¾ cup hot milk, ½ cup softened unsalted butter, ¼ cup granulated sugar, and 1 teaspoon salt. Stir until the butter melts and everything is combined. Let the mixture cool until it feels warm but not hot.
- Add 1½ cups all-purpose flour to the milk mixture and beat well by hand or with an electric mixer on low speed for about 1 minute until smooth.
- Add the 2 large eggs and the activated yeast mixture, then mix until fully combined.
- Gradually stir in the remaining 2¾ to 3¼ cups all-purpose flour (for a total of 4¼ to 4¾ cups flour) a little at a time until a soft dough forms that pulls away from the sides of the bowl.
- Turn the dough onto a lightly floured surface and knead for about 8 minutes until the dough becomes smooth, elastic, and no longer sticky.
- Place the dough in a lightly greased bowl, turning once to coat the surface. Cover and let rise in a warm place for 1 to 1½ hours, or until the dough doubles in size.
- Punch down the dough and transfer it to a lightly floured surface. Divide the dough into about 15 rolls. If using a food scale, weigh each piece to about 3 oz (96 g). If not, divide the dough in half, then in half again, and continue dividing until you have about 15–16 pieces.
- Pinch the edges of each piece of dough underneath to create a smooth top. Roll the dough ball gently on the counter using your hand in an “OK” shape to tighten the surface and place the seam on the bottom.
- Place the dough balls seam-side down on a greased baking sheet, brush the tops lightly with melted butter, cover loosely, and let rise for 30–45 minutes until doubled in size.
- Bake in a 375°F oven for 12–15 minutes, or until the tops are golden brown.
- Remove from the oven and immediately brush the rolls with 2 tablespoons melted butter before serving.
Notes
- Using a kitchen scale can help achieve equal-sized rolls.
- Store leftover rolls in an airtight container to keep them fresh.
- Prep Time: 20 minutes
- Cook Time: 15 minutes
- Category: Baking
- Method: Baking
- Cuisine: American
Nutrition
- Serving Size: 1 roll
- Calories: 120
- Sugar: 3g
- Sodium: 150mg
- Fat: 5g
- Saturated Fat: 3g
- Unsaturated Fat: 1g
- Trans Fat: 0g
- Carbohydrates: 17g
- Fiber: 1g
- Protein: 3g
- Cholesterol: 25mg