Follow Me On Social Media!

Red Velvet Cake Roll: The Indulgent Twist You’ll Cherish
Introduction to Red Velvet Cake Roll
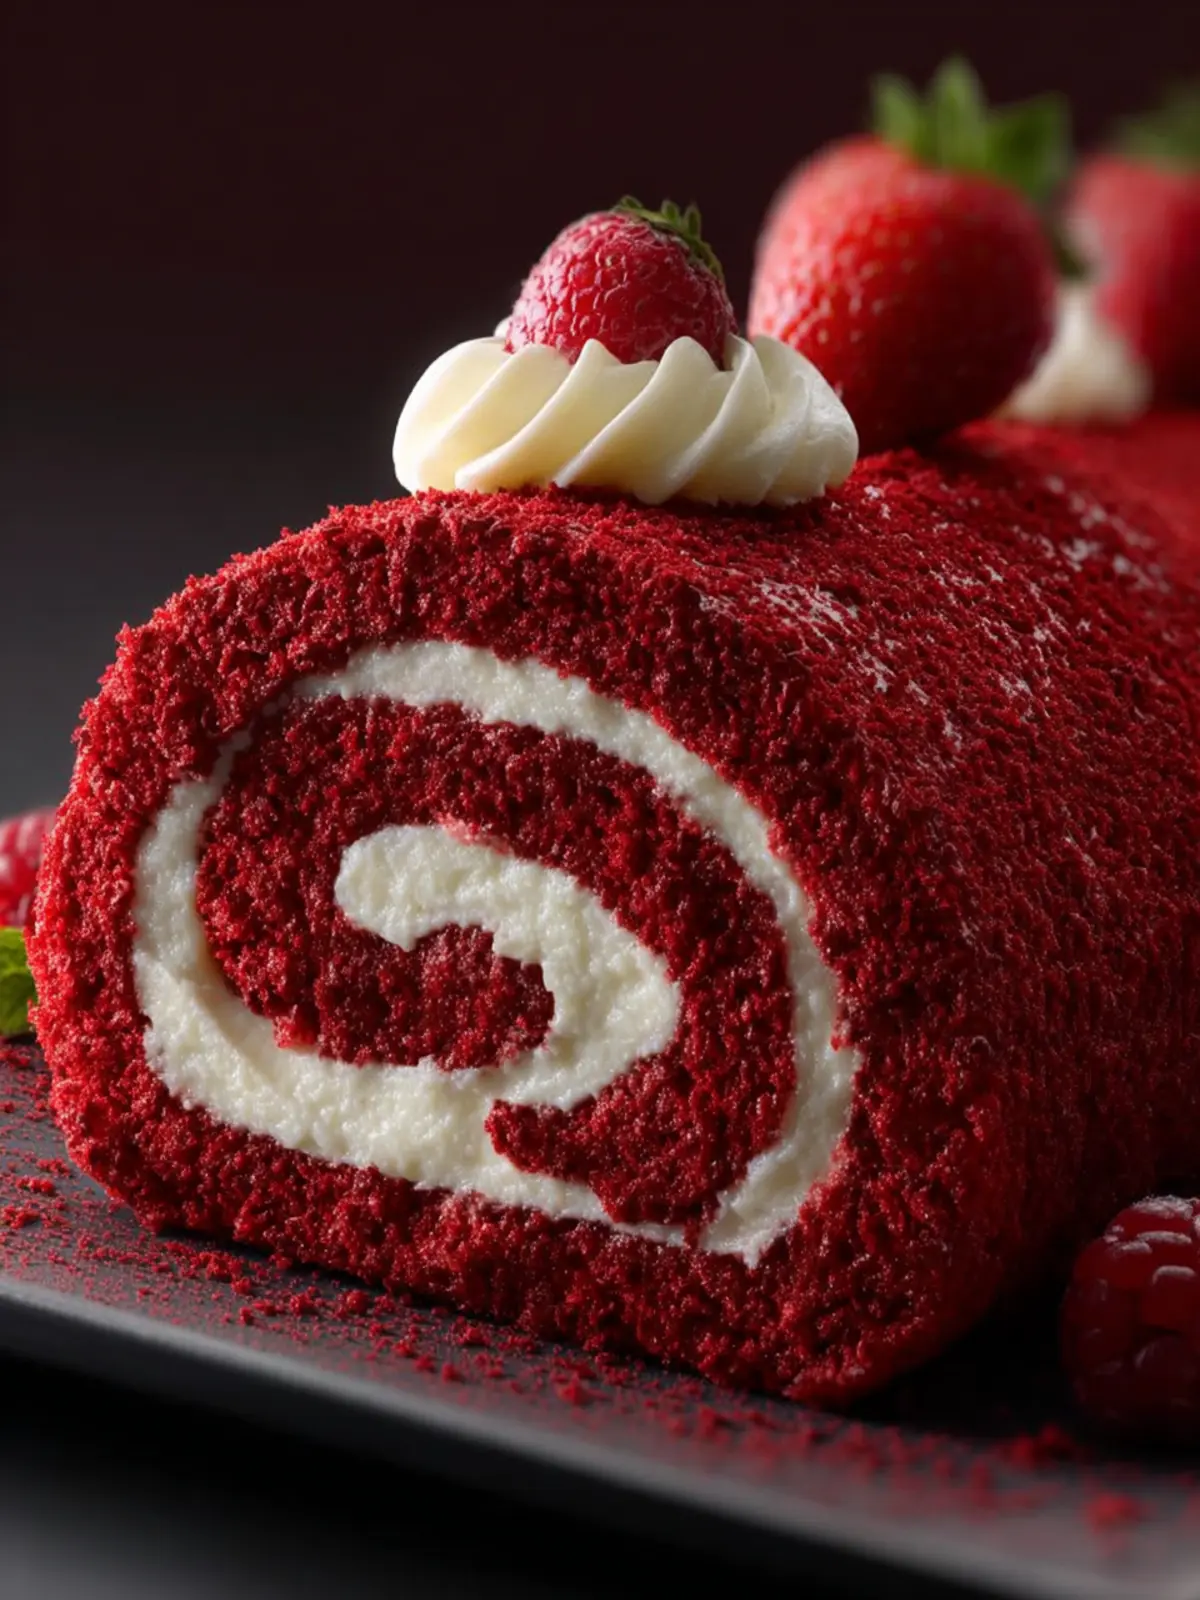
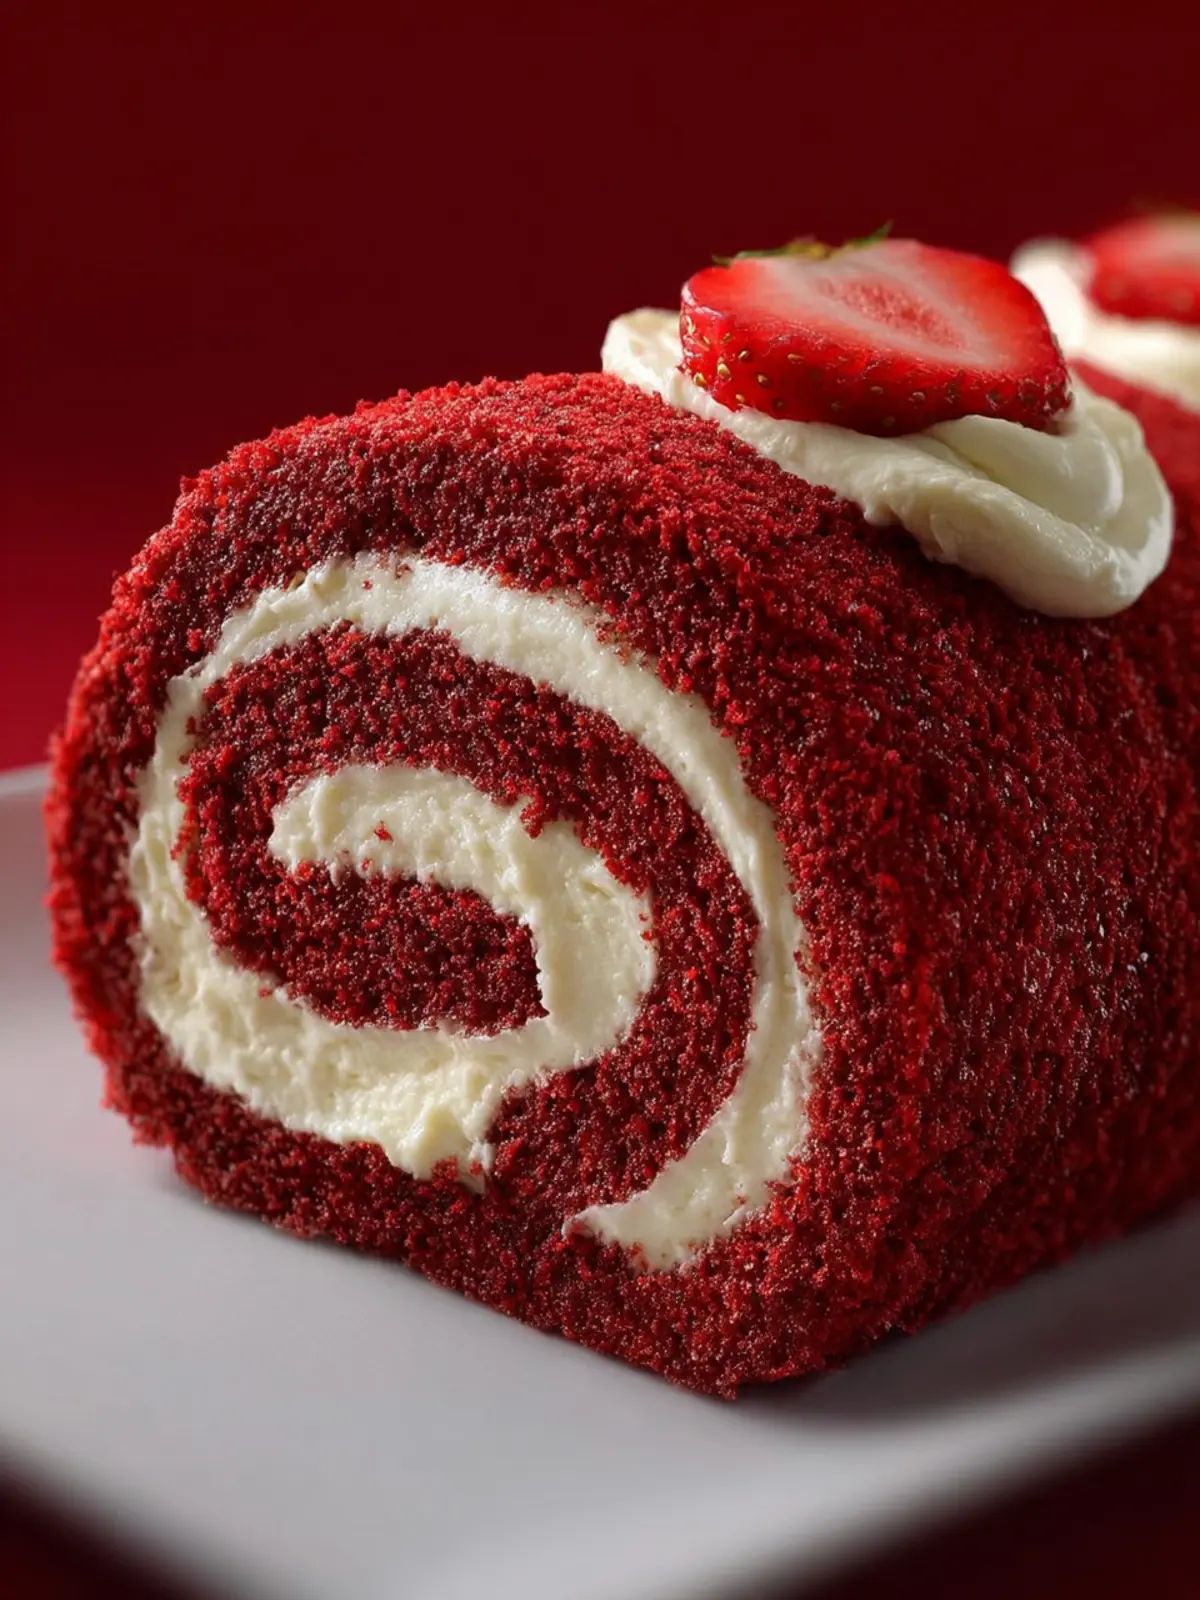
Imagine inviting friends over for an afternoon gathering and unveiling a stunning red velvet cake roll that turns heads and opens hearts. This dessert isn’t just cake; it’s a celebration of flavors and a feast for the eyes. The vibrant crimson hue paired with the signature cream cheese filling creates a dessert that is not only beautiful but also delicious. Each slice reveals the intricate swirls of red and white, making it hard to believe that something so whimsical can be homemade.
What makes a red velvet cake roll a dessert to remember? It’s all about the perfect blend of flavors and textures. Traditional red velvet cake is known for its rich, chocolatey taste with an unmistakable hint of tanginess thanks to buttermilk and vinegar. When transformed into a roll, it offers a light, airy experience rather than a heavy slice of cake. The lightly sweetened cream cheese filling adds a velvety richness that complements the slight bitterness of cocoa, creating a harmonious balance on your palate.
Besides its impressive appearance, the red velvet cake roll also carries with it a bit of nostalgia. Originating from the Southern United States, red velvet cake became popular in the 1920s and has since become a comfort food staple for many. By rolling it, you not only adopt a classic recipe but also add a modern twist that keeps your dessert game fresh and exciting. Engaging in the preparation process is almost communal — it invites gathering around the kitchen, sharing tips, and forming connections through baking.
With red velvet cake roll, every bite tells a story, from the first whisk of eggs to the final swirl of frosting. Whether you’re celebrating an occasion or simply treating yourself (because why not?), this dessert is sure to leave an impression that lingers long after the last slice is gone. Your guests will be talking about it long after they leave, and they’ll likely be asking for the recipe!

Key Ingredients for Red Velvet Cake Roll
Flour
For a perfect red velvet cake roll, all-purpose flour is my go-to. It helps create that ideal balance of structure and tenderness. For those needing a gluten-free option, a 1:1 gluten-free flour blend also works beautifully.
Cocoa Powder
The secret to achieving that rich color and subtle flavor lies in high-quality cocoa powder. It adds depth without overpowering the characteristic taste of the cake. I always reach for unsweetened cocoa for the best results.
Sugar
Granulated sugar brings sweetness to our cake roll. I love the way it balances the cocoa’s bitterness and works alongside the other ingredients to create harmony in flavor.
Eggs
Eggs are vital for binding and structure. The fluffy nature of the red velvet cake roll is best achieved by using large eggs at room temperature. They incorporate air when whisked, contributing to a light texture.
Butter
Rich, unsalted butter is essential, as it contributes to the cake’s moistness and enhances its flavors. Be sure to allow it to soften before mixing—this helps with proper aeration.
Buttermilk
Buttermilk not only contributes moisture but also reacts with the baking soda to create that lovely rise. If you don’t have any on hand, you can make a quick substitute using milk and vinegar.
Baking Soda and Vinegar
These two partners are crucial for that perfect rise in your red velvet cake roll. The reaction between them helps create a light and airy sponge, essential for rolling.
Red Food Coloring
Finally, the vibrant red color that makes this cake so iconic comes from red food coloring. I recommend using a gel coloring for a more vibrant hue without impacting the batter’s consistency.
With these carefully chosen ingredients, your red velvet cake roll will be the showstopper at any gathering!
Why You’ll Love This Red Velvet Cake Roll
A red velvet cake roll is not just a dessert; it’s an experience, layered with rich flavors and a hint of nostalgia that transports you back to favorite family gatherings. Imagine slicing into a beautifully rolled cake, its luscious cream cheese filling peeking through, each piece is like a little gift packed with warmth.
Embodying both elegance and comfort, this cake is perfect for any occasion—from casual brunches to impressive dinner parties. It’s not just visually stunning, but the tactile pleasure of rolling the sponge into a delectable treat adds an element of fun to your baking.
Key Features to Fall in Love With:
- Moist and Fluffy: Thanks to the buttermilk, every bite is soft and tender, making it a delight to savor.
- Rich Flavor Profile: The interplay of cocoa, vanilla, and cream cheese makes each slice a harmonious blend of sweetness and tang.
- Versatile Presentation: Whether you serve it at a formal gathering or just after dinner with loved ones, this cake roll exudes charm and sophistication.
- Easy to Make: With clear instructions, even novice bakers can create a show-stopping dessert without stress.
Once you try this red velvet cake roll, you’ll understand why it’s a favorite. Its blend of flavors and textures keeps you going back for just one more slice!
Cooking Tips and Notes for Red Velvet Cake Roll
Crafting the perfect red velvet cake roll is a delightful journey that combines cherished traditions with a touch of creativity. Here are some cooking tips and notes to ensure your cake roll is a showstopper at your next gathering.
Selecting the Right Ingredients
-
Cocoa Powder: Opt for high-quality unsweetened cocoa powder. It not only contributes to the rich color but also deepens the flavor profile of your red velvet cake roll.
-
Vinegar and Baking Soda: This duo is essential! The vinegar activates the baking soda, which helps the cake rise beautifully. Don’t skip this crucial step; it’s what gives your roll that light texture.
-
Food Coloring: For that striking hue, choose gel food coloring over liquid. Gel provides a more vibrant color without altering the batter’s consistency.
Achieving the Perfect Roll
-
Proper Cooling: After baking, allow your cake to cool for about 10 minutes before rolling it. This step is key to preventing cracks and ensuring a tight roll.
-
Parchment Paper Trick: Always line your baking sheet with parchment paper and leave some overhang. This not only makes transferring the cake easier but also helps prevent sticking.
Filling Variations
-
Cream Cheese Filling: A classic choice, but feel free to experiment! Add crushed nuts or a splash of vanilla for a unique twist to the filling.
-
Whipped Cream Alternate: For a lighter option, whipped cream with a hint of sweetness can replace the cream cheese filling, making it dreamy and airy.
By following these tips, your red velvet cake roll will not only look stunning but taste incredible, leaving your friends and family clamoring for seconds!
Serving Suggestions for Red Velvet Cake Roll
A red velvet cake roll is not just a dessert; it’s a delightful centerpiece that can elevate any gathering. Serving this exquisite treat is all about enhancing its beauty and flavor while making it accessible for your guests. Here are some creative ideas to consider.
Presentation
- Garnish Wisely: Dust the cake roll with powdered sugar for a classic finish, or top it with whipped cream to enhance its decadent cream cheese filling.
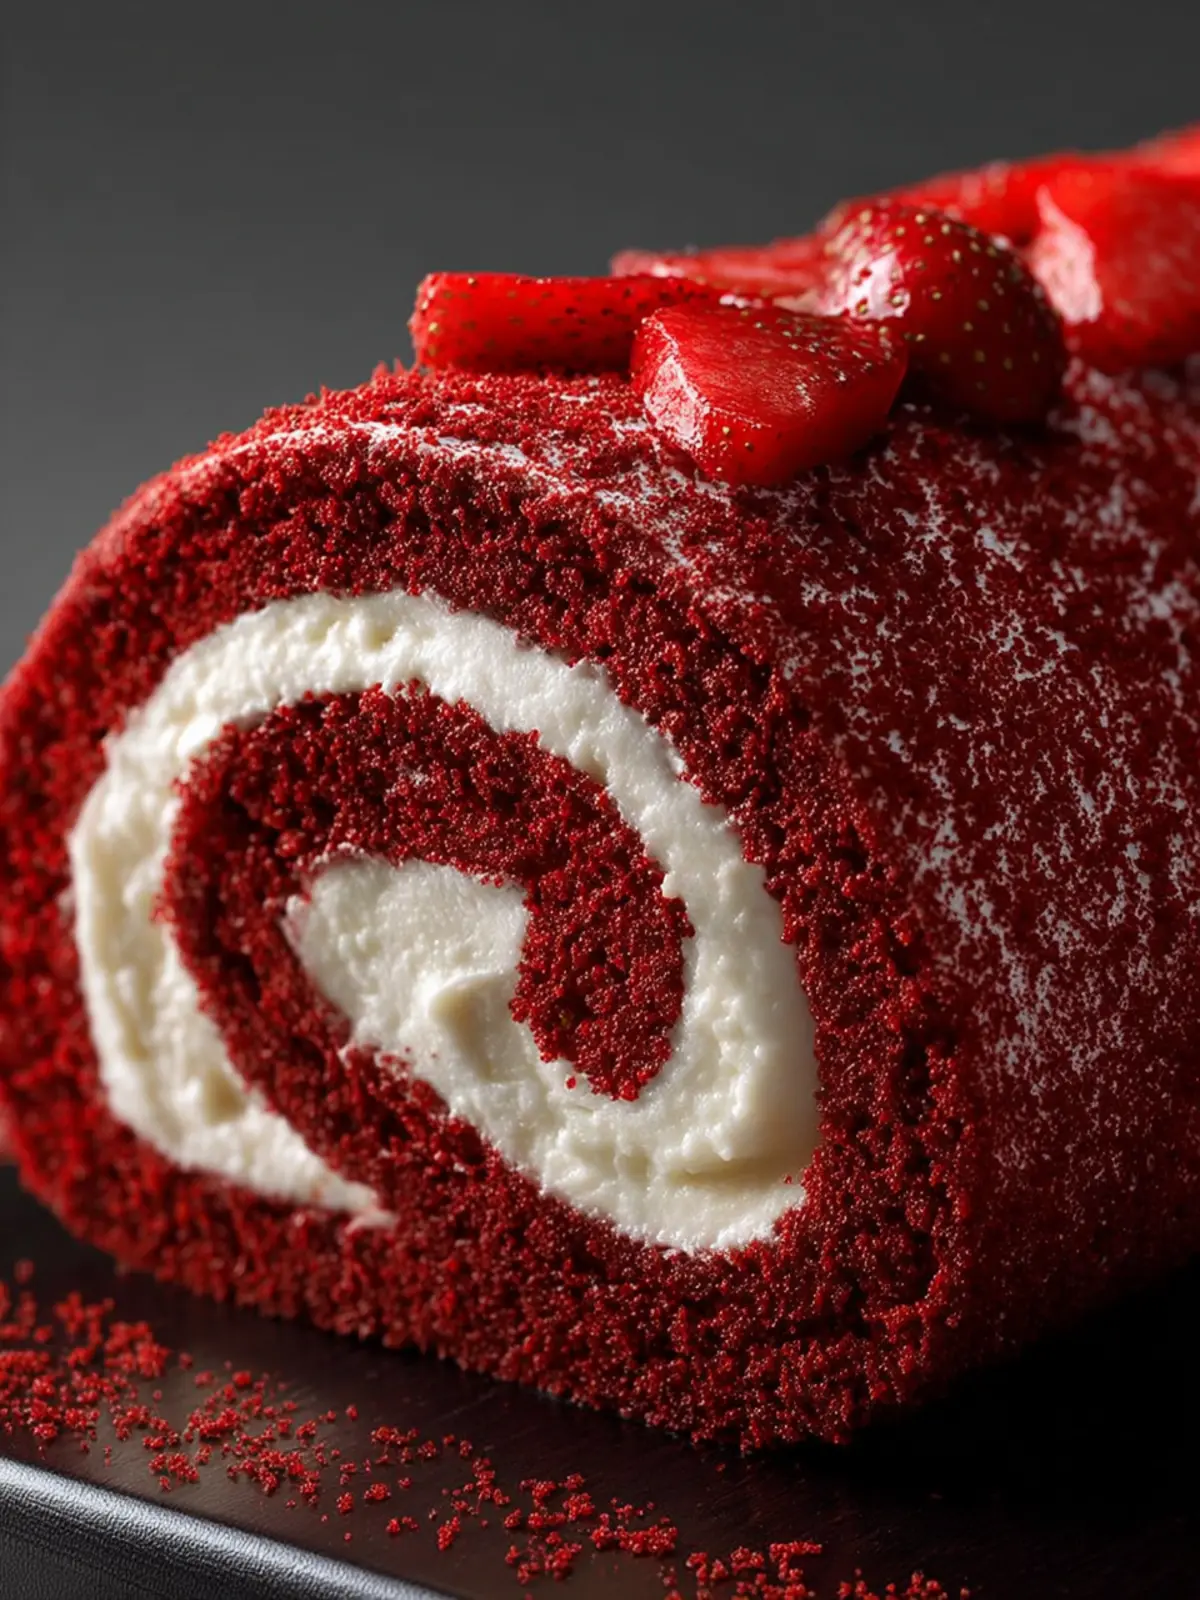
- Fruit Pairings: Fresh berries like strawberries or raspberries complement the rich flavors of the red velvet beautifully. They also add a burst of color and freshness on the plate.
- Chocolate Drizzle: A drizzle of chocolate syrup can add an additional layer of flavor while making it visually stunning.
Complementary Beverages
- Coffee or Tea: A warm cup of coffee or a brewed black tea makes an excellent pairing. The slight bitterness balances the sweetness of the roll.
- Milkshakes: For a fun twist, try serving with a vanilla or chocolate milkshake, creating a playful dessert experience.
Occasions to Serve
This red velvet cake roll is perfect for birthdays, holidays, or even a spontaneous gathering with friends. Consider cutting it into slices and serving as part of a dessert buffet, allowing guests to savor different treats while also enjoying a uniquely flavorful cake.
Each serving should tell a story, inviting your guests to indulge in that perfect bite of richness and delight.
Time Breakdown for Red Velvet Cake Roll
Baking a delicious red velvet cake roll is not just about following the recipe; it’s about savoring the entire experience from start to finish. Let’s break down the time commitment for each stage of creating this decadent treat.
Preparation Time
You’ll spend about 20 minutes gathering your ingredients, measuring, and mixing the batter. This is where the magic begins!
Baking Time
The cake requires around 15-18 minutes in the oven. Keep an eye on it to ensure it’s perfectly baked; overcooking can dry it out.
Chilling Time
After baking, allow your red velvet cake roll to chill for at least 30 minutes. This helps with rolling and enhances the flavor.
Total Time
In total, you will be looking at about 1 hour and 15 minutes to bring your red velvet cake roll to life. It’s a small investment for an elegant dessert that impresses!
Nutritional Facts for Red Velvet Cake Roll
When you indulge in a slice of red velvet cake roll, you dive into a delicious dessert experience that tantalizes not just the taste buds but also the nutritional balance in each bite. Here’s a quick look at what you’re savoring:
Calories
- Each serving of this delightful red velvet cake roll contains approximately 210 calories. It’s a sweet treat that won’t completely derail your dietary goals.
Protein
- You can expect around 3 grams of protein per slice, which helps contribute to your daily intake and provides some staying power without overstuffing.
Sugar
- This cake roll has about 18 grams of sugar per serving. It’s the sweet taste of celebration but be mindful if you’re watching your sugar levels.
Fat
- With around 9 grams of fat per slice, this red velvet cake roll balances indulgence and lighter options. A little goes a long way in satisfying sweet cravings!
Enjoy these numbers as part of a mindful approach to your dessert enjoyment!
FAQs about Red Velvet Cake Roll
Creating the perfect Red Velvet Cake Roll often leads to common questions that many passionate bakers encounter. Here, I’m happy to address some of those uncertainties with helpful tips and insights.
What’s the best way to store leftover Red Velvet Cake Roll?
To keep your Red Velvet Cake Roll fresh and delicious, it’s best to store it in an airtight container. If you haven’t already sliced the roll, wrap it tightly in plastic wrap to prevent it from drying out. You can keep it at room temperature for a day or two, but for longer storage, the fridge is preferable. Just remember to let it sit at room temperature for about 15 minutes before serving, as this will enhance its taste and texture.
Can I make this cake ahead of time?
Absolutely! In fact, making your Red Velvet Cake Roll a day in advance can enhance the flavors. After baking and rolling, allow it to cool completely, then wrap it in plastic and refrigerate. When you’re ready to serve, whip up your frosting, re-roll it if necessary, and enjoy. Just keep in mind to frost it just before serving for that fresh, eye-catching look.
What can I substitute for buttermilk in this recipe?
If you find yourself short on buttermilk, don’t worry! A simple substitute is to mix 1 cup of milk (whole or low-fat) with 1 tablespoon of lemon juice or white vinegar. Let it sit for about 5-10 minutes until it curdles slightly. This will mimic the acidity and consistency of buttermilk, ensuring your Red Velvet Cake Roll remains moist and delicious.
How can I achieve a deeper red color in my Red Velvet Cake Roll?
To deepen the red hue of your Red Velvet Cake Roll, consider using gel food coloring instead of traditional liquid dyes. Gel colors provide a more concentrated color without adding excess liquid to your batter. Start with a few drops, mix well, and adjust until you reach your desired shade. You’ll be amazed at the vibrancy it brings to your cake!
Conclusion on Red Velvet Cake Roll
Crafting a red velvet cake roll is more than just a baking project; it’s a delightful journey that brings a touch of elegance to any occasion. Rich in flavor with the signature red hue, this dessert not only satisfies your sweet cravings but also impresses your guests. Remember to serve it chilled for that perfect melt-in-your-mouth experience! Don’t hesitate to experiment with fillings or toppings to make it uniquely yours. Baking can be a form of self-expression, and this delightful cake roll is an excellent canvas for your creativity. Happy baking, and may your red velvet cake roll become a cherished recipe in your kitchen!
Print
Red Velvet Cake Roll
- Total Time: 1 hour 35 minutes
- Yield: 10 servings 1x
Description
A delightful red velvet cake rolled with a creamy filling, topped with strawberries and powdered sugar.
Ingredients
Scale
- 4 large eggs
- ¾ cup granulated sugar
- 2 tablespoons vegetable oil
- ⅓ cup buttermilk
- 1 teaspoon vanilla extract
- 1 tablespoon red food coloring
- ⅔ cup all-purpose flour
- 2 tablespoons unsweetened cocoa powder
- ½ teaspoon baking powder
- ¼ teaspoon baking soda
- ¼ teaspoon salt
- 8 ounces cream cheese, softened
- 4 tablespoons unsalted butter, softened
- 1 cup powdered sugar
- 1 teaspoon vanilla extract
- Fresh strawberries
- Extra powdered sugar for dusting
Instructions
- Preheat oven to 350°F (175°C). Line a 10×15-inch jelly roll pan with parchment paper and lightly grease it.
- In a large bowl, beat eggs for 5 minutes until thick and pale. Gradually add sugar while mixing.
- Mix in oil, buttermilk, vanilla, and red food coloring until well combined.
- In a separate bowl, sift together flour, cocoa powder, baking powder, baking soda, and salt.
- Gently fold the dry ingredients into the wet batter until just combined—do not overmix.
- Pour batter into the prepared pan and smooth the top evenly.
- Bake for 12–15 minutes, or until the top springs back lightly when touched.
- While warm, invert the cake onto a kitchen towel dusted with powdered sugar. Peel off parchment and roll the cake in the towel. Let it cool completely.
- For the filling, beat cream cheese and butter until smooth. Add powdered sugar and vanilla; beat until fluffy.
- Carefully unroll the cake, spread the filling evenly, then roll it back up (without the towel).
- Chill the rolled cake in the fridge for at least 1 hour.
- Dust with powdered sugar and top with strawberries before serving.
Notes
- Ensure your eggs are at room temperature for best results.
- This cake can be made a day in advance and stored in the refrigerator.
- Prep Time: 20 minutes
- Cook Time: 15 minutes
- Category: Dessert
- Method: Baking
- Cuisine: American
Nutrition
- Serving Size: 1 slice
- Calories: 290
- Sugar: 22g
- Sodium: 210mg
- Fat: 12g
- Saturated Fat: 7g
- Unsaturated Fat: 3g
- Trans Fat: 0g
- Carbohydrates: 38g
- Fiber: 1g
- Protein: 4g
- Cholesterol: 110mg